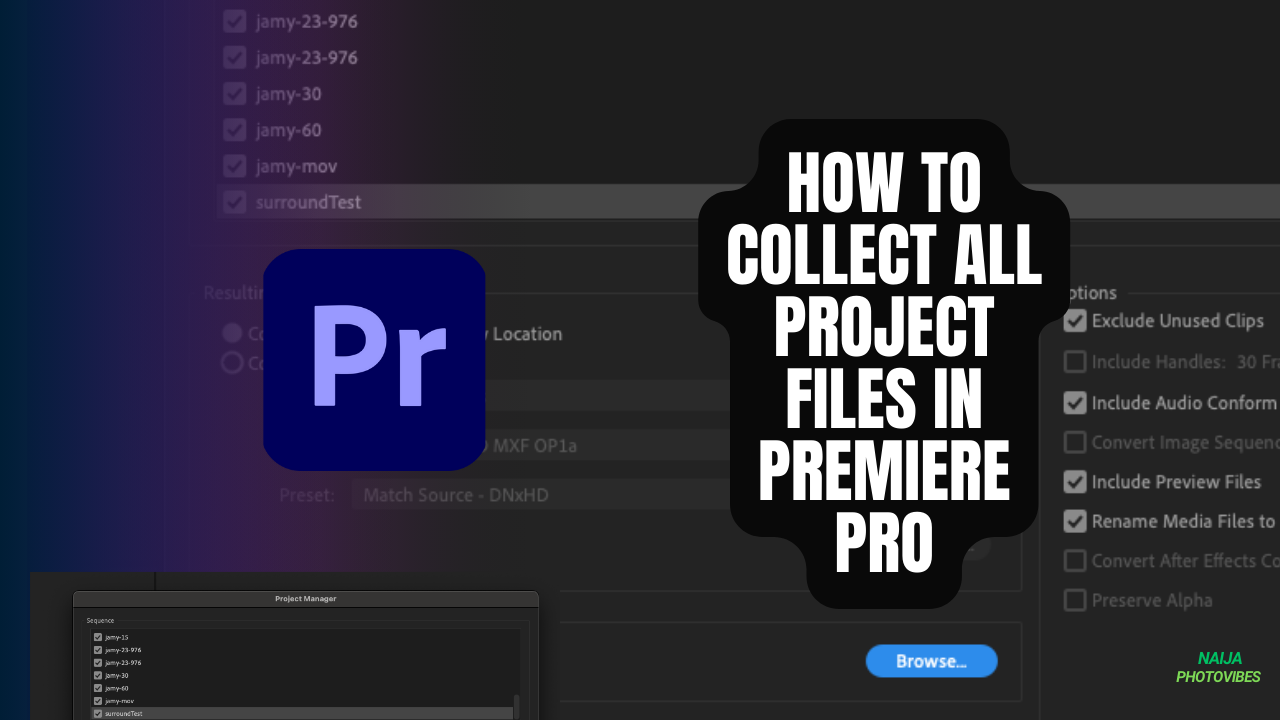
As a video editor, ensuring that all your project files are organized and easily accessible is crucial. Whether you’re backing up your work, sharing it with a collaborator, or preparing for a move to a new editing system, knowing how to collect all project files in Adobe Premiere Pro can save you time and prevent headaches. This guide will walk you through the process step-by-step, ensuring you don’t miss any critical files.
What is Collecting Project Files in Premiere Pro?
Imagine your Premiere Pro project as a recipe. The project file itself is the recipe card, outlining the editing steps. But to actually cook the dish, you need the ingredients – the video clips, audio files, and graphics.
Collecting project files is like gathering all these ingredients and placing them neatly beside your recipe card. This way, you (or anyone else) can easily open the project and find everything needed to work on it.
Why Collecting Project Files is Important
Collecting all project files in Premiere Pro is essential for several reasons:
- Backup: Protect your work from data loss.
- Collaboration: Share your project with others without missing files.
- Organization: Keep your project tidy and manageable.
Step-by-Step Guide to Collecting Project Files
Collecting project files is a straightforward process:
- Open the Project Manager: Go to File > Project Manager. This window displays information about your project, including all linked media files.
- Select the Sequences: By default, the Project Manager lists all sequences in your project. If you only want to collect files for a specific sequence, deselect the others.
- Choose “Collect Files”: Click the button labeled “Collect Files” in the bottom left corner of the Project Manager window.
- Destination and Options: A new window titled “Collect Files” appears. Here you can:
- Choose a destination folder: Click the “Browse” button to select where you want the collected files to be saved.
- Refine Options: Several options further customize the collection process.
- Exclude Unused Clips: This saves space by only copying files actually used in your project.
- Include Audio Conform Files & Include Preview Files: These options copy additional audio files used for project optimization and preview purposes, respectively.
- Rename Media Files to Match Clip Names: This helps with better organization by renaming the collected media files to match their clip names in Premiere Pro.
- Calculate & Collect: Click the “Calculate” button to see an estimated size of the collected project. Once happy with your settings, click “OK” to initiate the process.
Tips for Efficient File Management
- Regular Backups: Make it a habit to back up your projects regularly.
- Organized Folders: Keep your project files organized in clearly labeled folders.
- External Storage: Use external drives or cloud storage for additional backups.
Also Read: How to sync audio in Premiere Pro
Conclusion
Collecting all project files in Premiere Pro is a straightforward process that can save you time and prevent potential issues. By following these steps, you can ensure that your projects are well-organized and ready for any situation. Whether you’re collaborating with others or simply backing up your work, having all your files in one place is invaluable.
By mastering this process, you’ll enhance your workflow and ensure that your projects are always safe and accessible. Happy editing!

